|
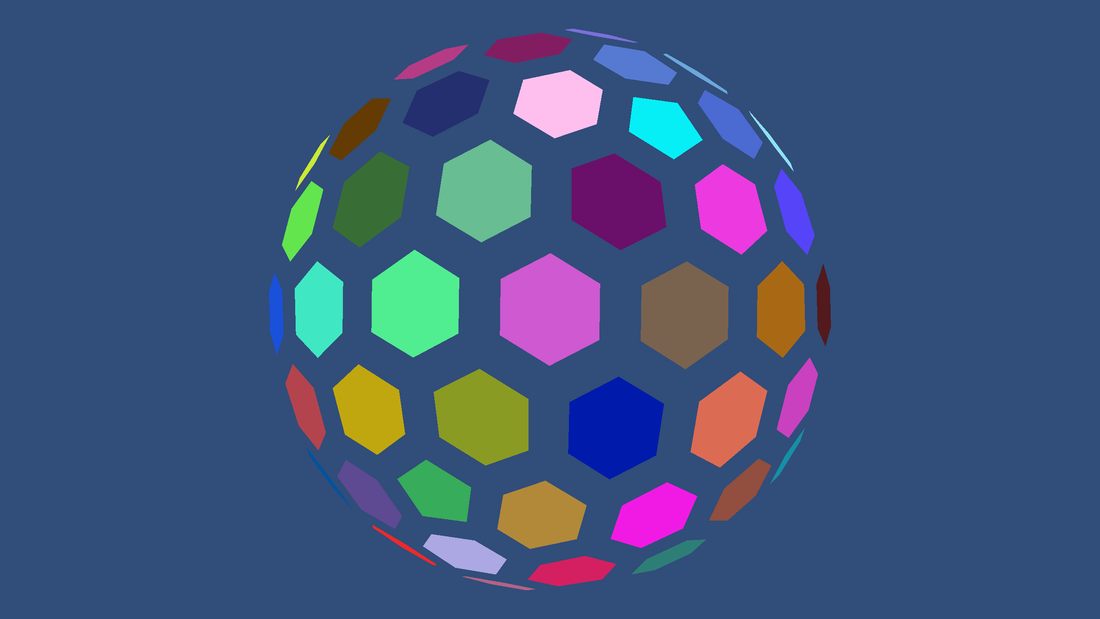
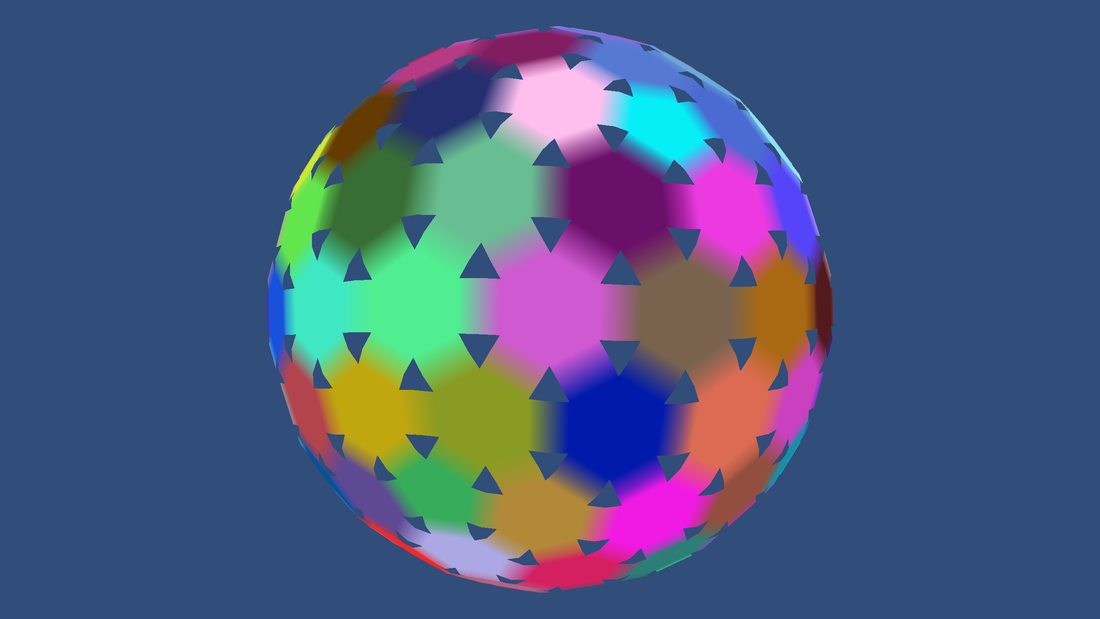
To differentiate different types of terrain we could just use different colors but that gets a bit boring after a while, and doesn’t look that great. Instead let’s use textures. There’s a couple ways to go about this. We could give each tile its own hexagonal texture. It would be easy to implement. But it would make the seams between cells very obvious and would require a lot of work to make each texture. What would be easier is if we could use standard tilling 2d textures. We can get rid of most seams and, because each cell is at a slightly different position in the texture, there is some natural variation. But how do we put the texture, which is basically a 2D square, onto a sphere? If it was a cube this would be easy, each face of the cube gets a copy of the texture. But what if we put the sphere inside this cube and projected the texture from the cube onto the sphere? That’s how we’re going to do this.
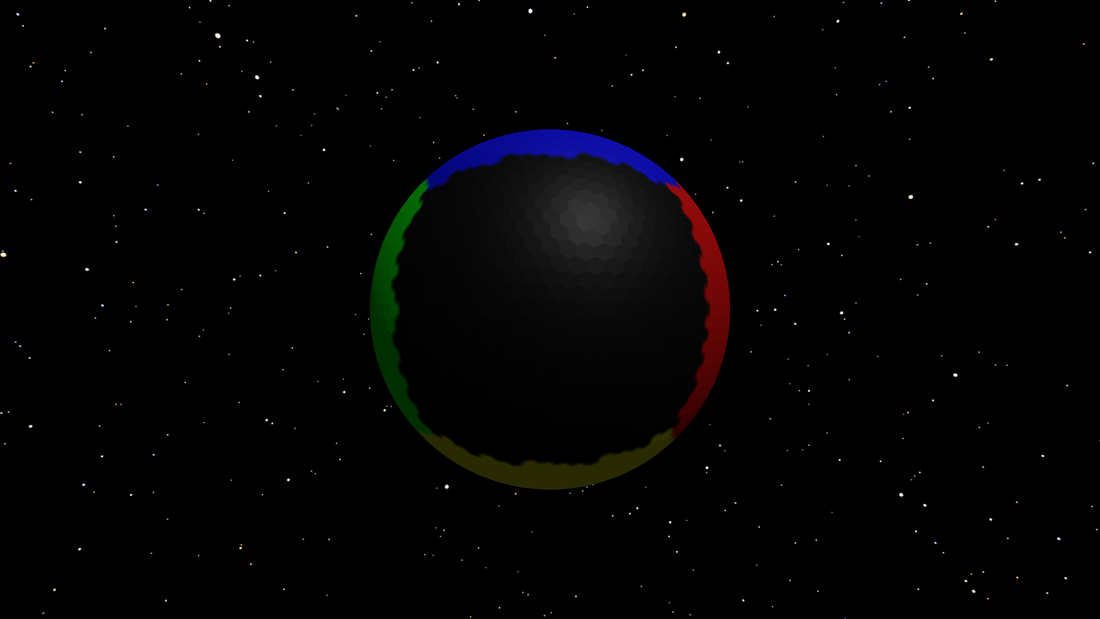
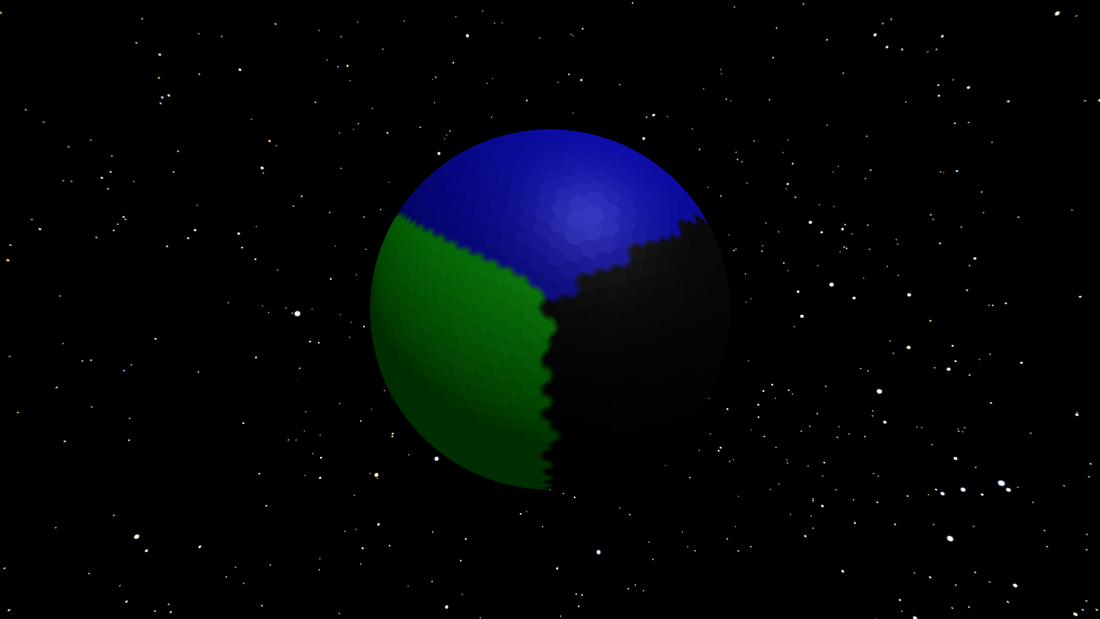
First the sphere is divided into 6 regions.
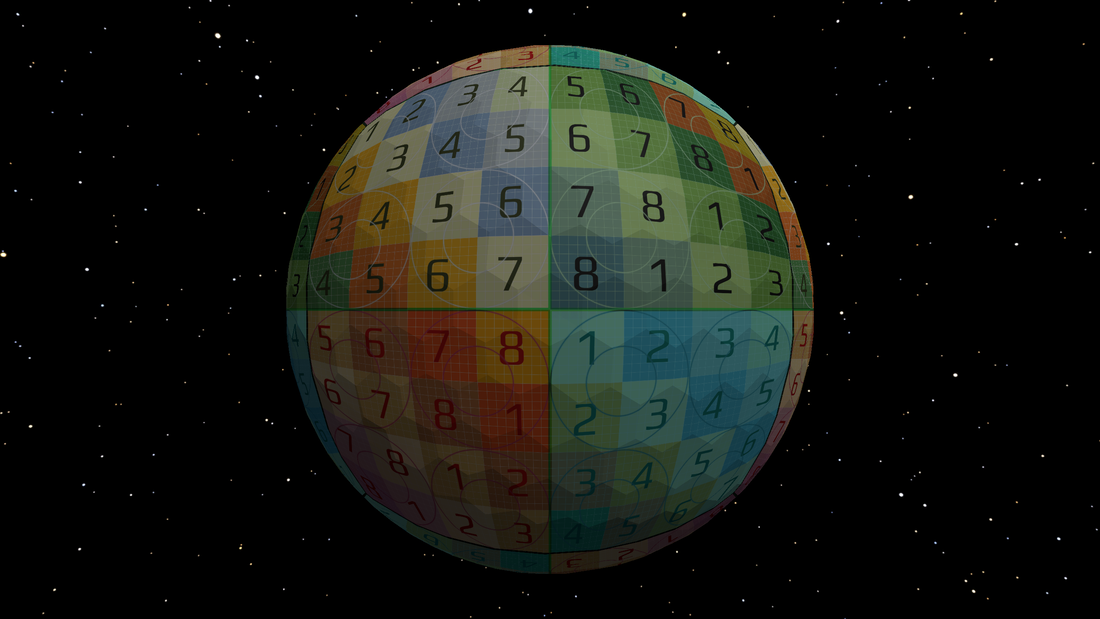
Then we just do a flat projection on each of those faces. So how does it look with a texture?
Looks good!
Well, at least all the lines connect…
So we want this to be a square, not a triangle. Also, the border of each face should align with the texture borders. Right now they start overlapping at the edges.
So how do we solve this? Remember at the beginning I said we put the sphere inside a cube. It turns out that it works much better if we put the cube inside the sphere. This does require some math though. Let’s use the subscripts c and s for cube and sphere respectively First, normalize all the coordinates
Code Editor
Then divide by the max value. This is the part that puts the cube inside the sphere.
Now each coordinate goes from -1 to 1 but this would cause the texture to repeat one. So we remap the range to 0 to 1.
Finally we choose the appropriate coordinates for each face.
Code Editor
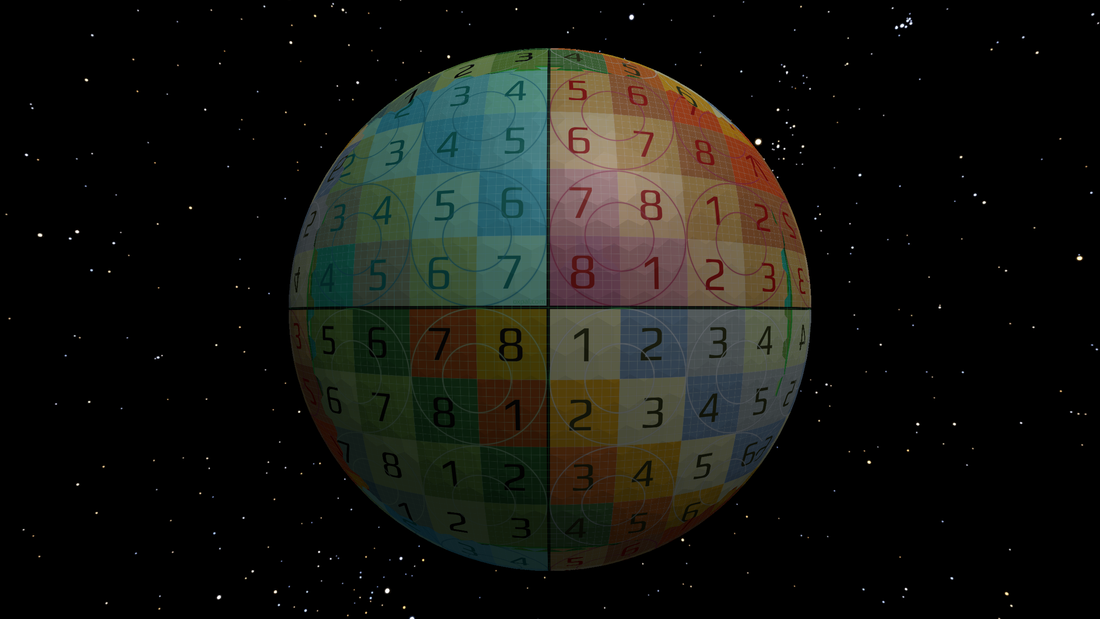
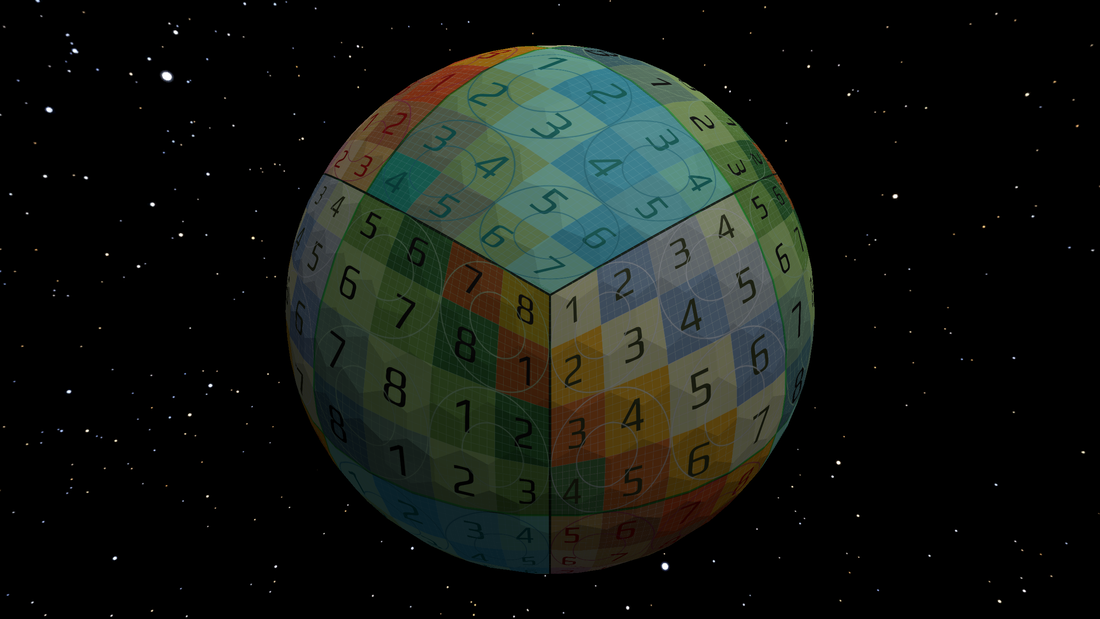
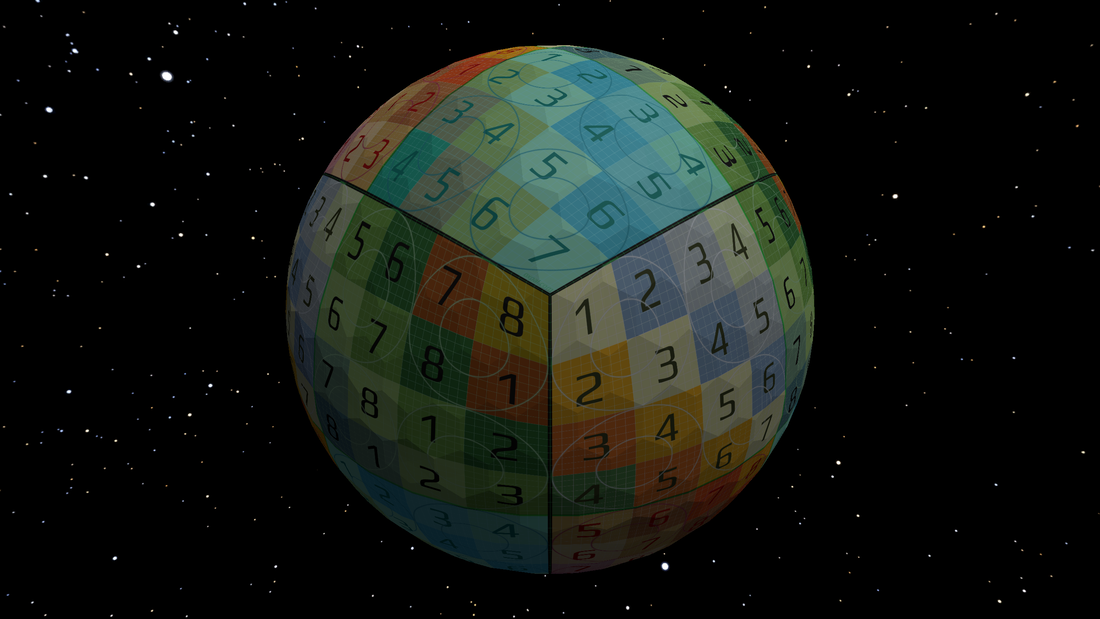
Here’s how this looks
So now all the edges line up and things look much better. But it’s easy to see that the squares at the center of each face are larger than those near the corners. To solve this we need a better mapping. This post goes into the math of this next mapping, but here’s the equations.
\[ x_s = x_c \sqrt{1 - \frac{y_c^2}{2} - \frac{z_c^2}{2} +\frac{y_c^2 z_c^2}{3}} \] \[ y_s = y_c \sqrt{1 - \frac{x_c^2}{2} - \frac{z_c^2}{2} +\frac{x_c^2 z_c^2}{3}} \] \[ z_s = z_c \sqrt{1 - \frac{x_c^2}{2} - \frac{y_c^2}{2} +\frac{x_c^2 y_c^2}{3}} \] Since we’re already splitting into 6 faces we can simplify by setting z_c = 1 In this case we break up the coordinates by face before doing the math \[ x_s = x_c \sqrt{1 - \frac{y_c^2}{2} - \frac{1}{2} +\frac{y_c^2 }{3}} \] \[ y_s = y_c \sqrt{1 - \frac{x_c^2}{2} - \frac{1}{2} +\frac{x_c^2}{3}} \] \[ z_s = \sqrt{1 - \frac{x_c^2}{2} - \frac{y_c^2}{2} +\frac{x_c^2y_c^2}{3}} \] \[ x_s = x_c \sqrt{ \frac{1}{2} - \frac{y_c^2}{6}} \] \[ y_s = y_c \sqrt{ \frac{1}{2} - \frac{x_c^2}{6}} \] \[ z_s = \sqrt{1 - \frac{x_c^2}{2} - \frac{y_c^2}{2} +\frac{x_c^2y_c^2}{3}} \] Solving for x_c and y_c so we only need 2 equations. \[ x_s = x_c \sqrt{ \frac{1}{2} - \frac{y_c^2}{6}} \] \[ y_s = y_c \sqrt{ \frac{1}{2} - \frac{x_c^2}{6}} \] Now solve for x_c and y_c https://www.wolframalpha.com/input/?i=a+%3D+x+*+sqrt(1%2F2+-+y%5E2%2F2++%2B+y%5E2+%2F3),++b+%3D+y+*+sqrt(1%2F2+-+x%5E2%2F2+%2B+x%5E2+%2F3),+solve+for+x,y Rather complicated, but some manual simplifying gives this.
After x_c finding y_c is easy.
As before x_c and y_c are currently from -1 to 1, so rescale to 0 to 1
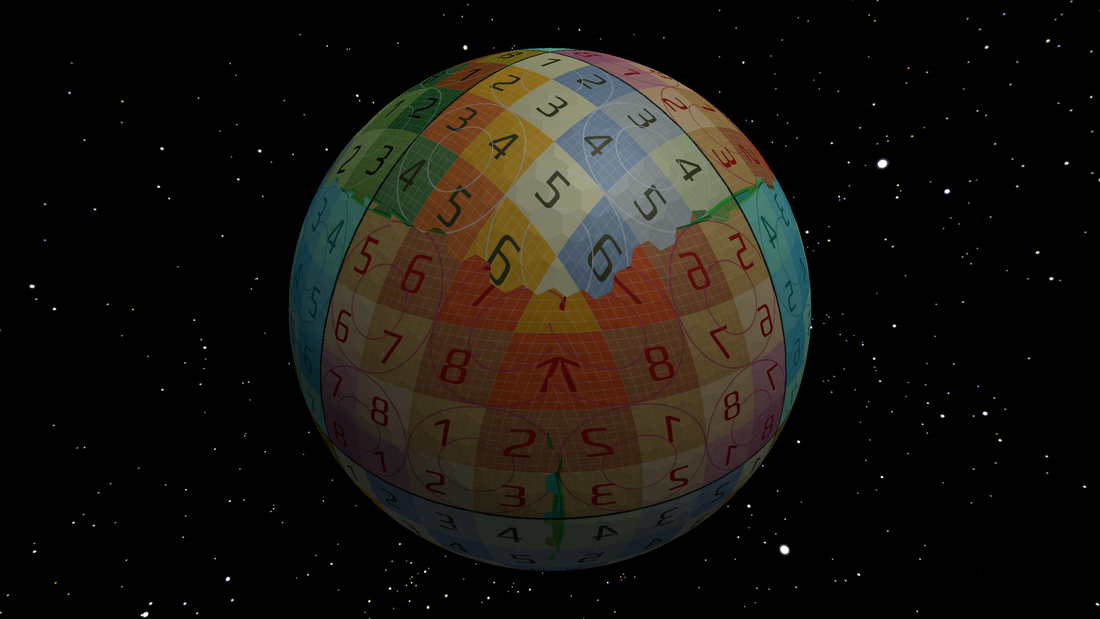
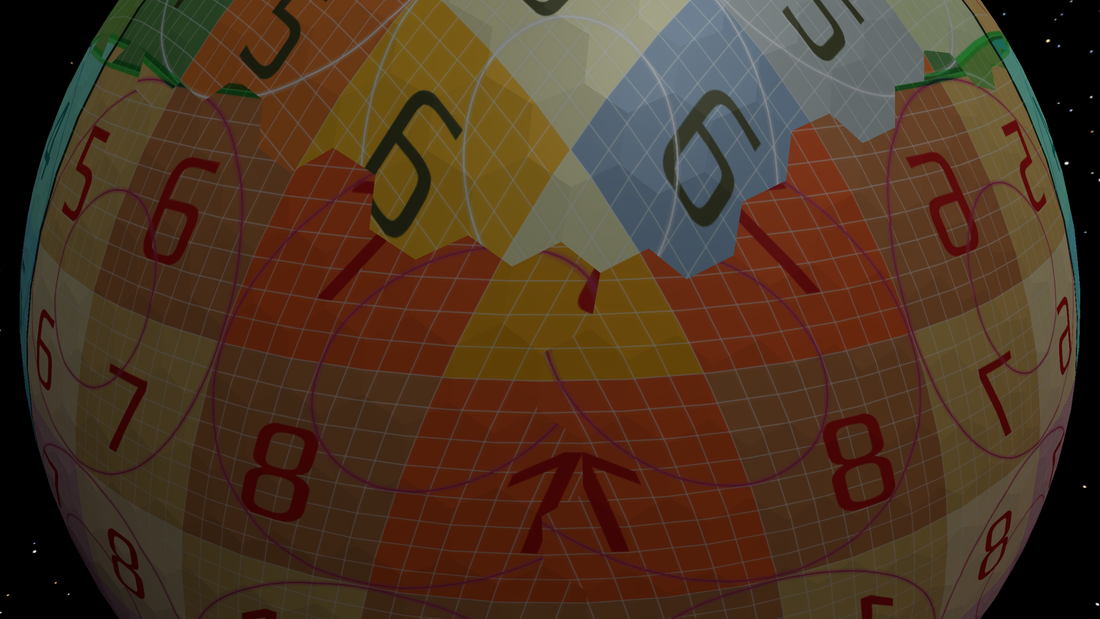
There’s still some distortion, especially near the corners. But overall each square is about the same size.
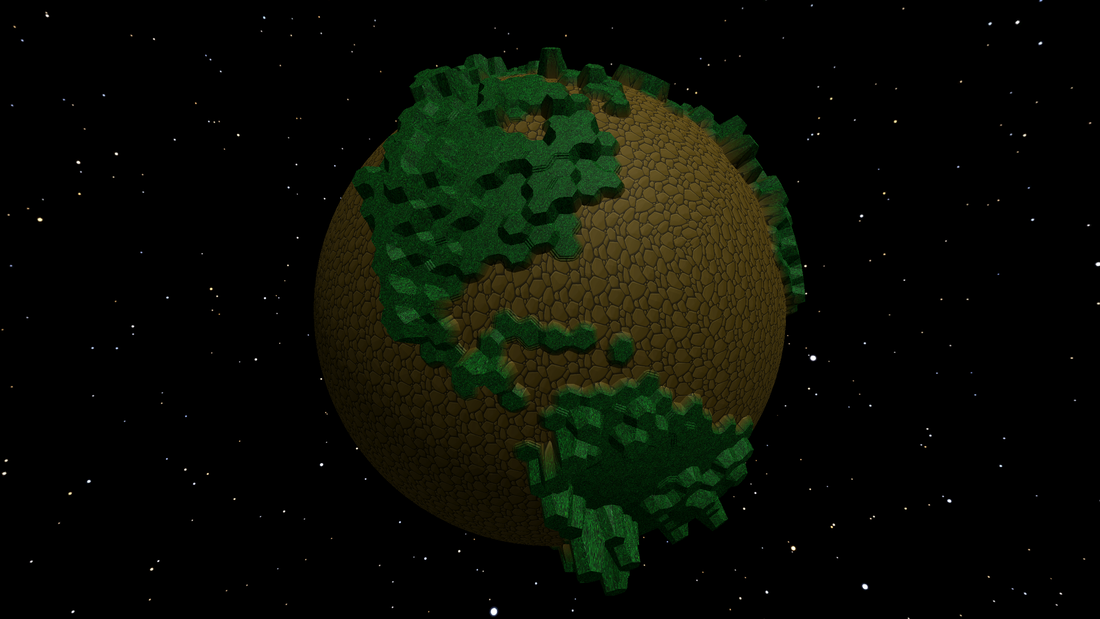
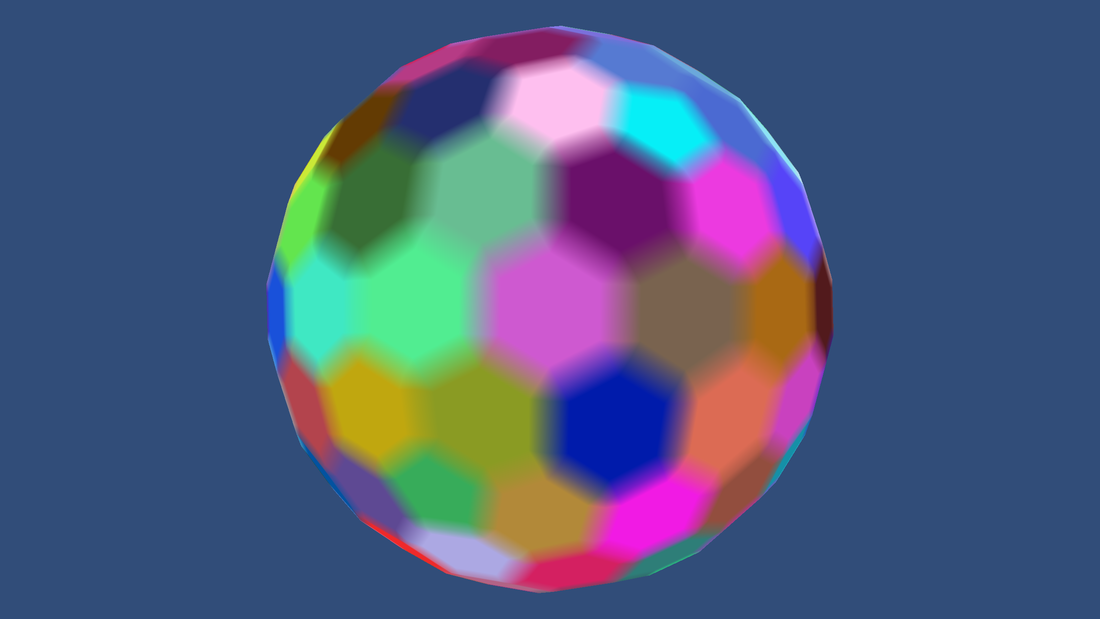
The final thing is giving each hex its own texture. Fortunately, this part is simple. For each type of terrain we want we need a different texture. This texture is then applied just like the test pattern above.
Finally, just like with cell colors, each cell chooses a texture and then the texture is blended between cells.
0 Comments
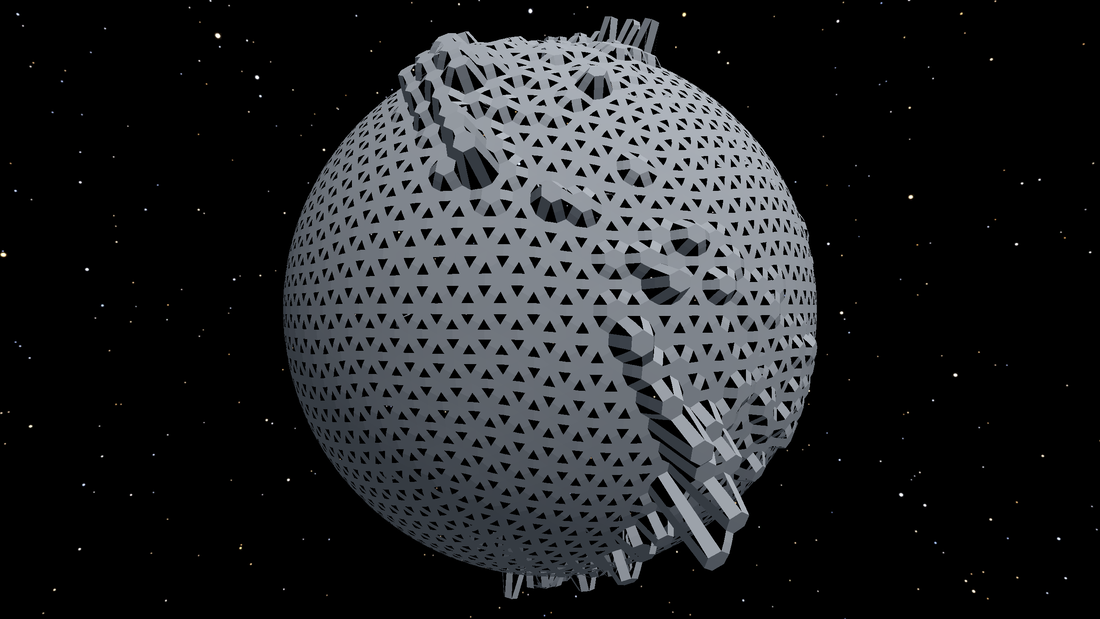
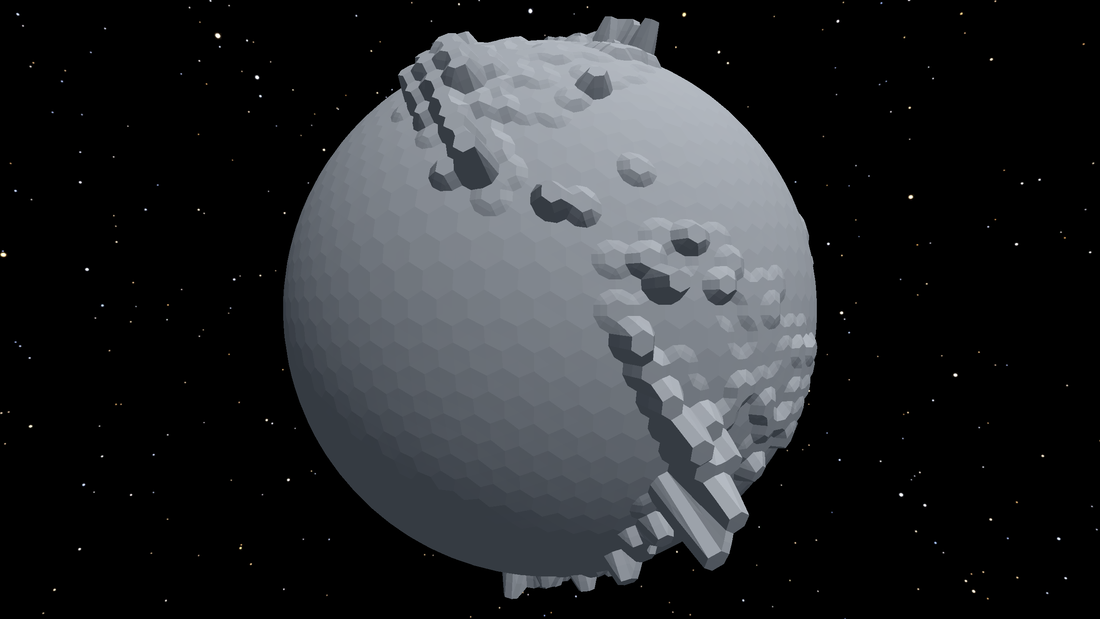
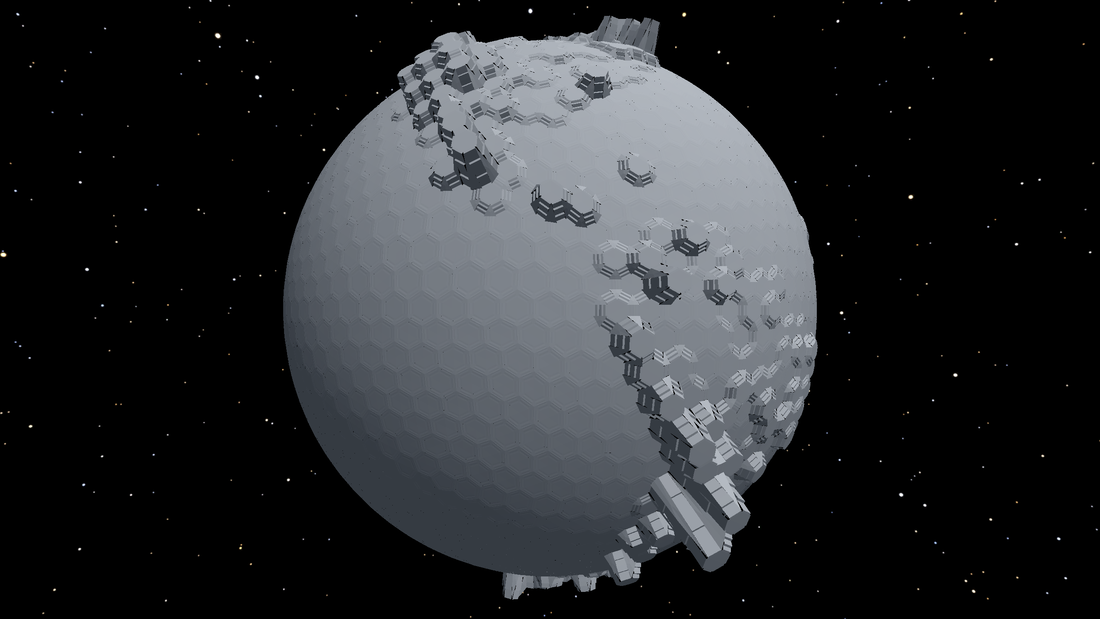
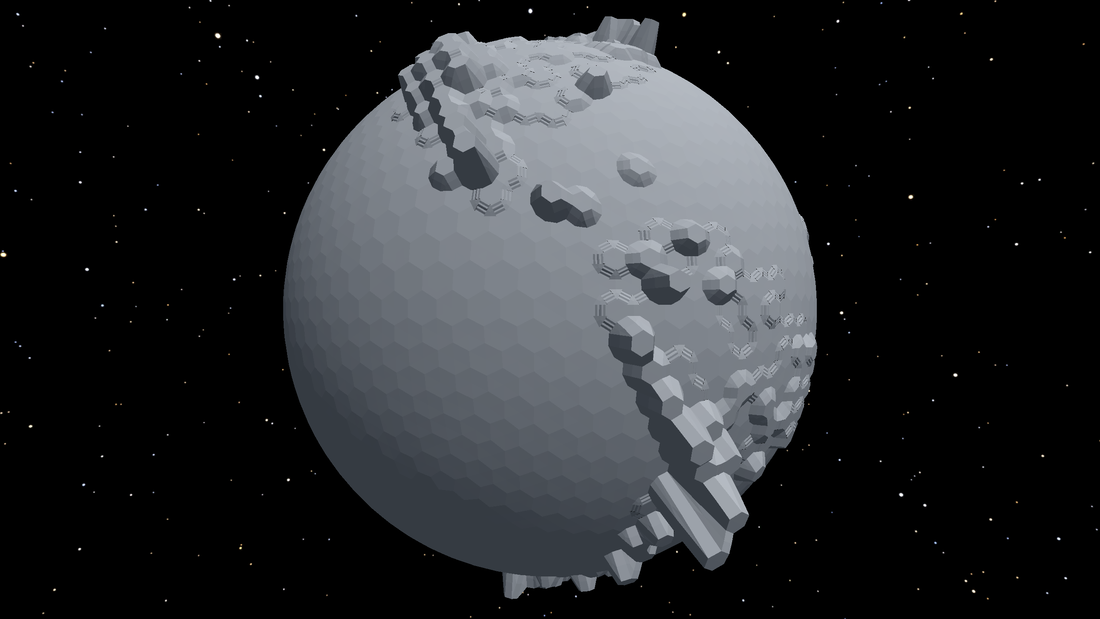
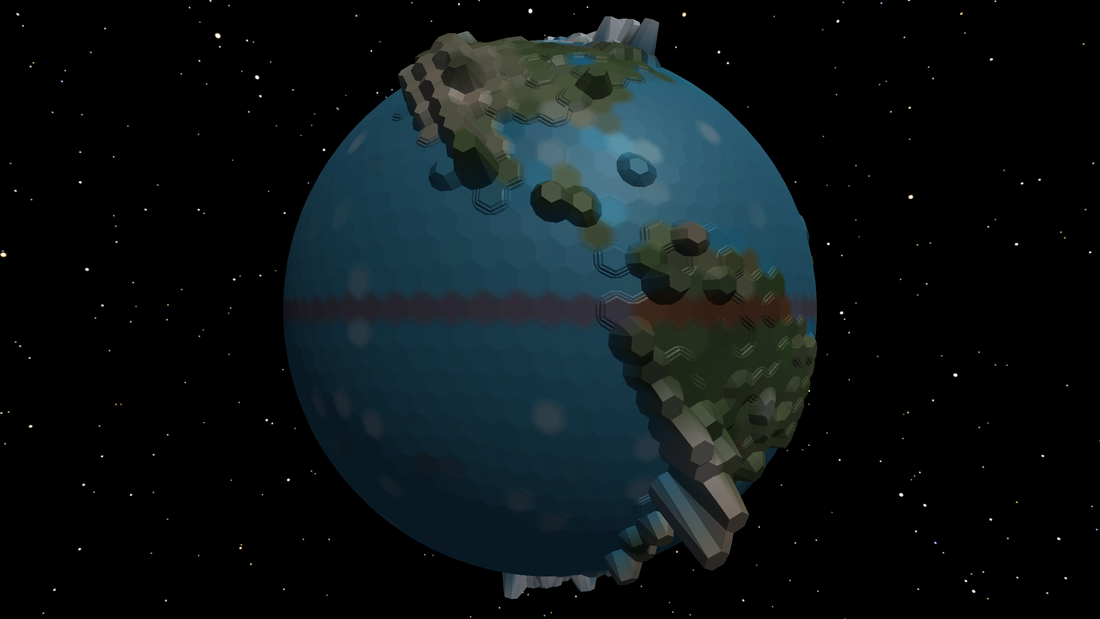
Now that we have a colorful ball it's time to give it some height variation. Thankfully all that work we did to get color blending smoothly will also make the height blend nicely. But first there's the big question, what direction is up? On a 2d grid it's easy, we just define the y axis as up and call it a day. But on the surface of a sphere up is the direction away from the center. Unfortunately that isn't as simple as just grabbing one axis. But we could use a coordinate system where this is true for a sphere, spherical coordinates. Then changing height is as simple as changing the r axis. There's one minor problem with this method though, the graphics card wants the vertices in cartesian coordinates. It's a simple equation to convert everything but there's a lot of sines and cosines in there. Now sines and cosines are fairly fast but not nearly as fast as multiplication. Every time we change a section of the mesh that section needs to be redrawn. Each section has ~10000 vertices and each conversion has 5 sines and cosines. So for each redraw there's a lot of computation. Is there a better way to do this? Well we already store the position of each vertex, can we use that? Yes, to change the height of a vertex we can just normalize its position vector, multiply that by the new height, and add it back to the original vector. Doing this we can change the height of a vertex 5 times faster than by using spherical coordinates. Now that that’s out of the way lest implement it. Let’s look at what we currently have. First we’ll just change the height of the cell centers. I’m using a map of Earth to decide the height of each cell. Doesn’t look that great but it’s starting to work. Thankfully all the work we did to get color to blend will also let our height blend. First the bridges. Then the corners. That looks like a planet! But it is a little boring, what if we changed those flat slopes to terraces (look here for the math involved)? Better, but the flat land looks a bit strange. And the tall cells don’t look great either. Lets only add a terrace if the neighboring cells have a small height difference. That’s better, gives some terrain variation but doesn’t look too strange. Just need to fill in the corners Looks pretty good, but it would look even better in color! Now it looks like a planet. Next we’ll try to add some textures.
Color is a nice thing. It makes life more interesting and, in general, thinks look better with some of it. We will eventually use color to represent different types of terrain. But first let's just use a random color for each hexagon cell.
This looks nice, but to do anything more we first need to look at how all this works. When we are constructing a mesh really we're just sending a bunch of arrays to the graphics card. The two most important are the positions of the vertices and how they are connected. This is what we did last time. It gives a 3d object that we can work with. But if you want to give the object texture or color you need to also send that data to the graphics card. Texture can get complicated so we'll deal with that later. But color is simple, we can just give each vertex its own color. If we want each cell to have its own color then all the vertices in that cell must have the same color. This means that we can't share vertices on the edge of cells. Thankfully we can afford to have those extra vertices.
So how do we construct each cell? Well, we know the position of the cell's center and corners. But we can't just tell the graphics card to draw a hexagon. See graphics cards aren't actually that smart, for our purposes they're really only good at drawing triangles. So we need to break down our cell into triangles. Easy enough, just make a triangle between the cell center and one of it's edges. Then repeat this for each edge.
Well this looks nice, and it works well. But remember, we eventually want to use this color to represent different types of terrain. More often than not different types of terrain don't have hard boarders between them. So we want to smoothly blend the terrain color between cells. But we still want each cell to have a defined color. We'll do this by scaling down the size of each cell, in this case each cell is 70% of it's original size. This gives each cell a smaller solid region in it's center.
Now it's time to connect the cells. We'll add a rectangle (created from two triangles) to bridge between our cell and it's neighbor. It will reach halfway to the neighboring cell. When we add the color to this rectangle the two vertices near the cell are the same color as the cell. But the two that are far away are the average of the cell's color and the cell's neighbor's color. If we do this for every cell then most of the work is done.
Now there's only a couple triangles left to fill before the color blends nicely. Unfortunately we can't just draw simple triangles to fill the holes. There are two reasons for this. First, when we give the cells different heights later we'll need a more complicated solution. Second, this also lets us make the sphere look smoother. Instead, for each cell corner we'll draw two triangles per cell. The first will connect the cell corner and the two nearby bridge corners. The second will connect the two bridge corners and the center of the hole. We color them similarly to how we did before.
Now we have a nicely colored sphere. We can adjust the amount of blending to whatever we want and it will still look nice. The next thing to do is to give different heights to the cells. But that's a job for another time.
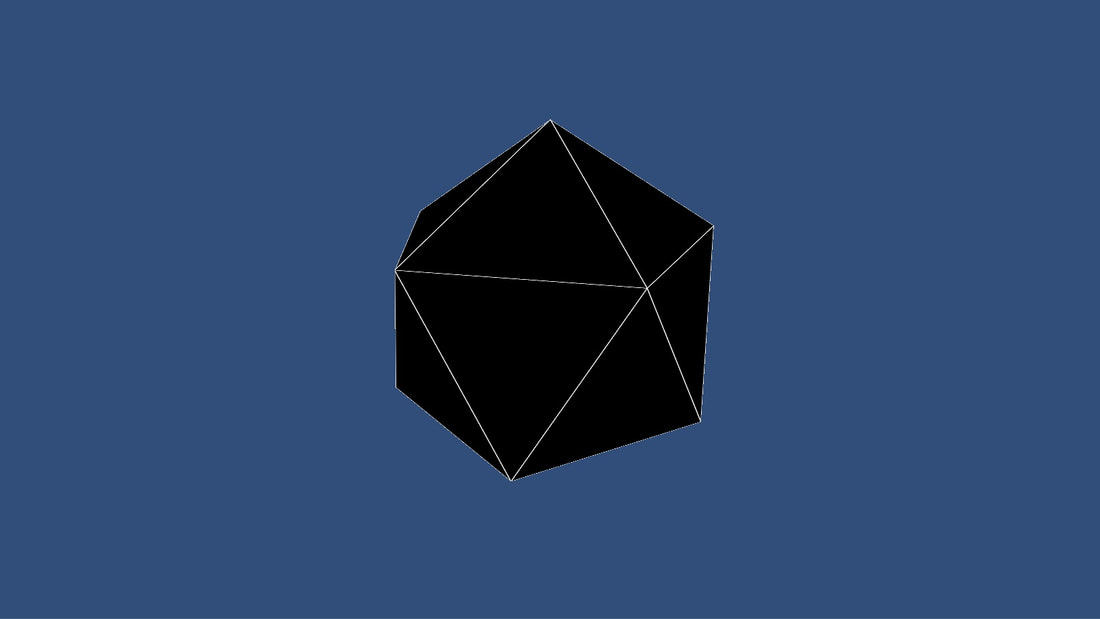
Most games take place on some sort of map, and the choice of map type has a fundamental impact on gameplay. But how to choose? For this terraforming game we know the map needs to span an entire planet. The most common method of doing this is to make the world flat and wrap around the east-west direction. But this is actually a cylinder. Now I don't know about you but the planet I live on is a sphere. You could wrap around north-south like we did with east-west but this turns the world into a torus (also not a sphere). As it turns out this is the same problem cartographers have been dealing with ever since they started making maps. In fact they even proved that it's impossible to do perfectly. At this point you need to ask does this matter? Most games decided that the advantages of a flat map outweighed these downsides. But for this game I think we need a spherical map. Remember that the other map decision was to use a hexagonal grid. So we just need to cover the surface of a sphere with hexagons. So map projections, there’s a lot of them, and they all do the same thing, and none are perfect… But why do I care? Well, this is a game about terraforming planets so there needs to be some way to show that planet to the player. In my first post you can see the initial version of this. The planet is displayed as a flat map so I need to use some projection. But this has problems, it distorts the amount of area at each latitude, you can’t go over the poles, and I think it looks bad. The answer to all of this is just make the planet spherical instead of flat, essentially use a globe. So how to do that? Well, it turns out that if I want to keep the hex grid on the surface it’s As it turns out that's impossible. Thankfully there is a simple way around this problem, just add 12 pentagons to our hexagons. This is called a Goldberg polyhedron. Now making it! The first step is to construct an icosahedron. We do this by first defining the locations of all the vertices. Code Editor
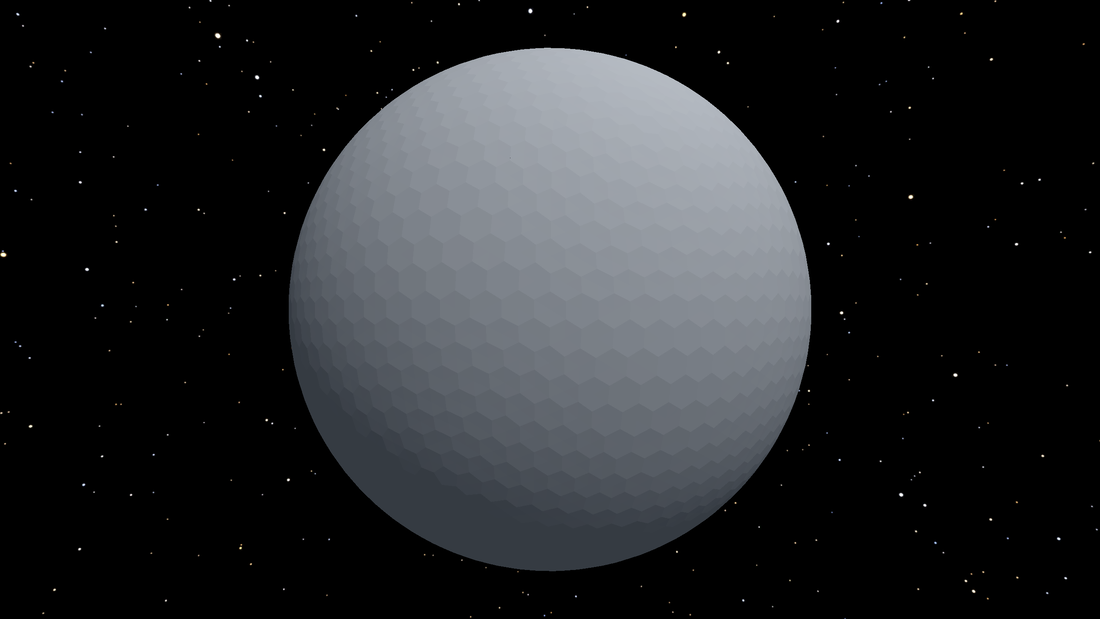
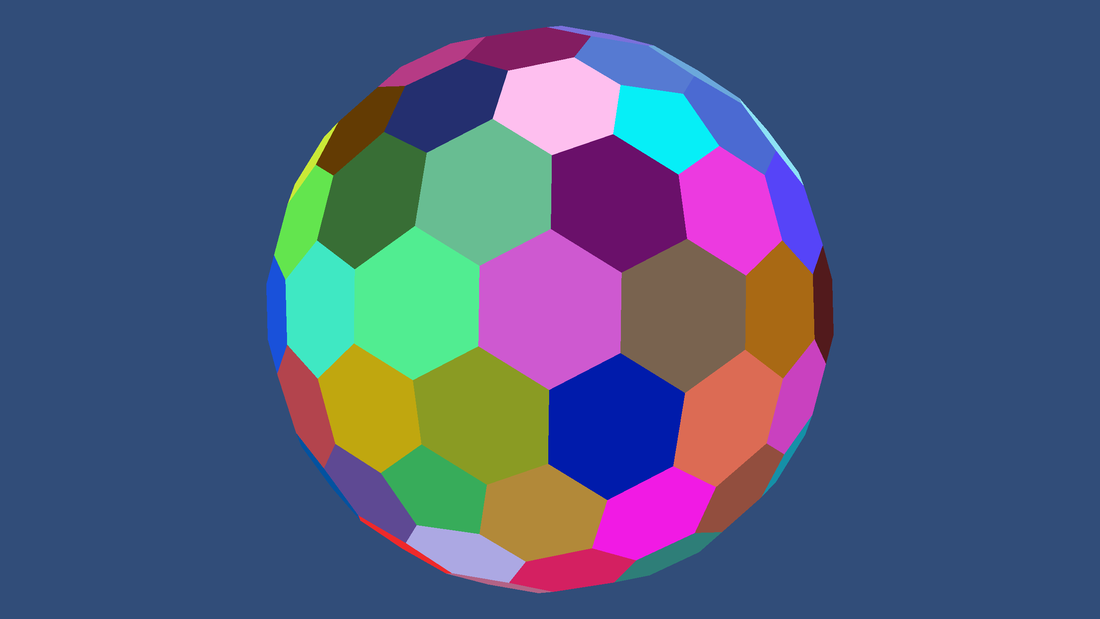
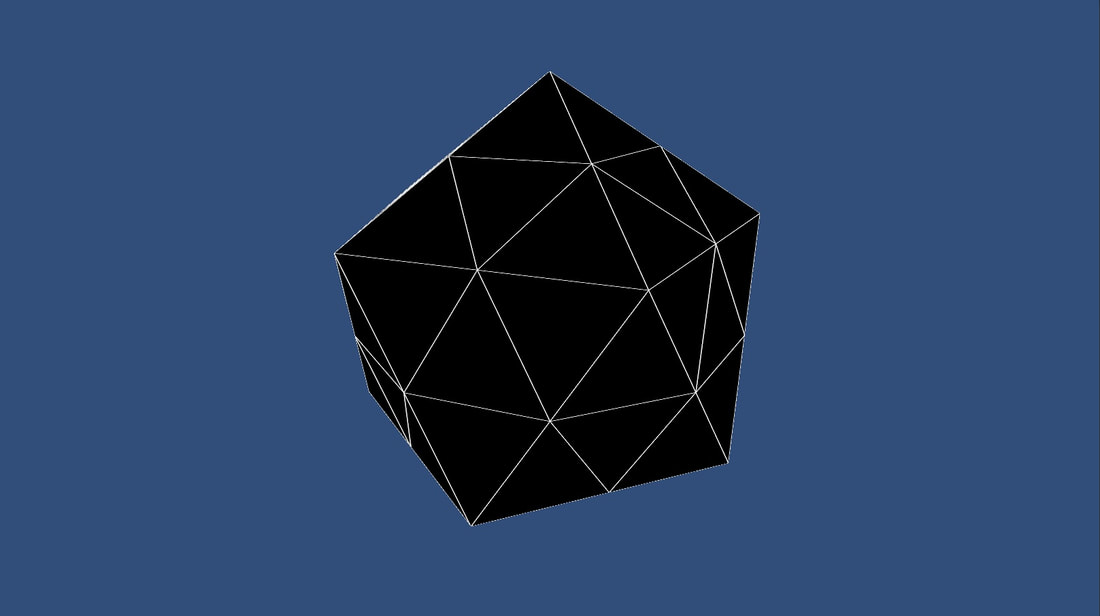
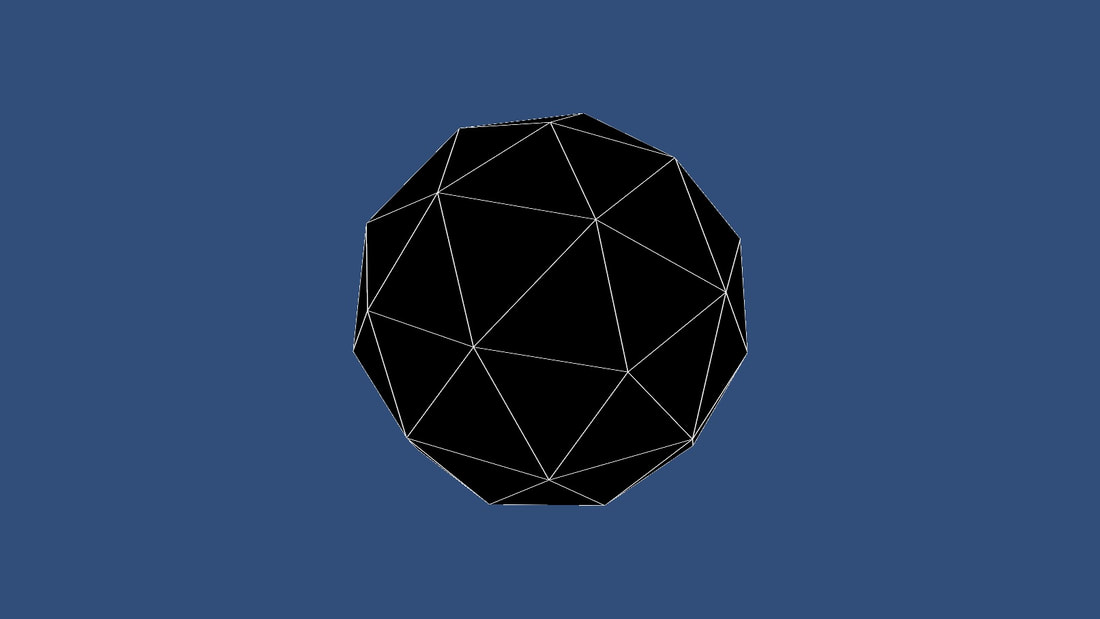
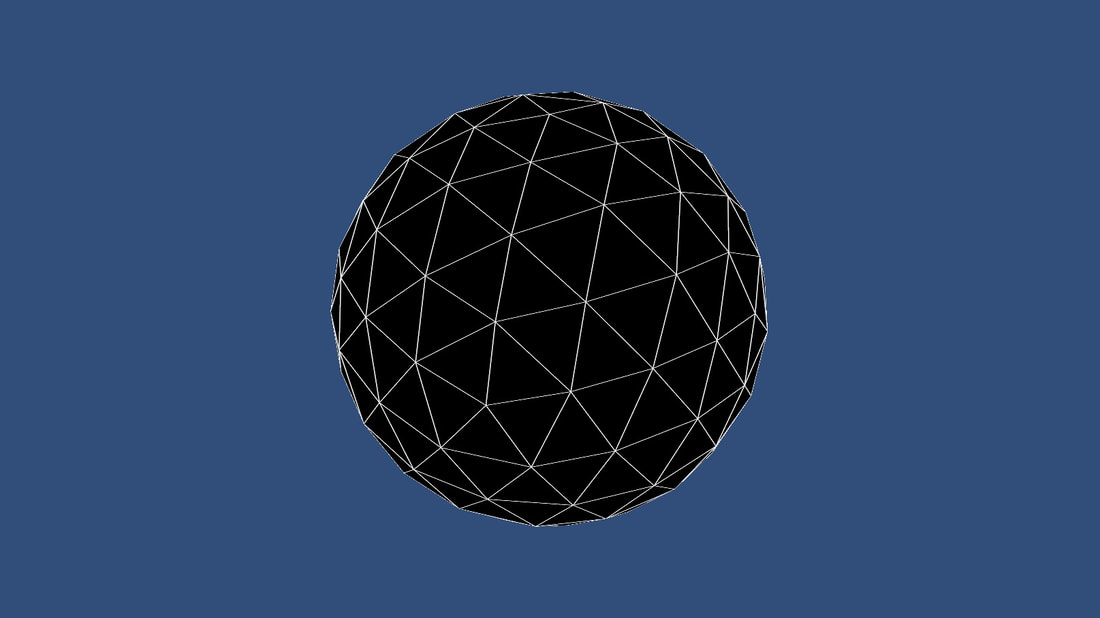
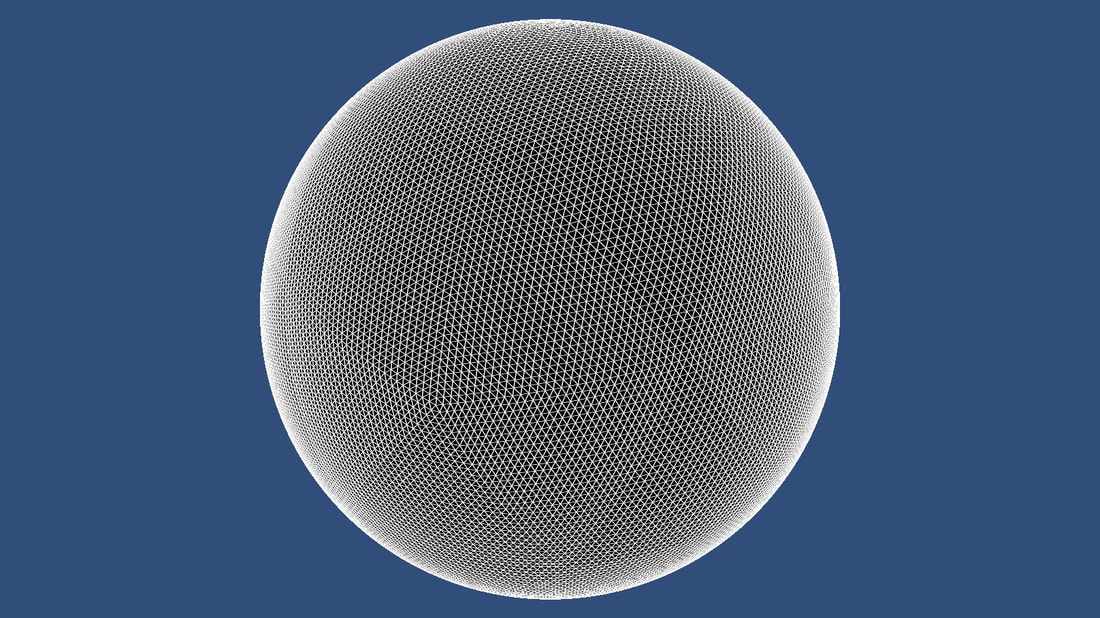
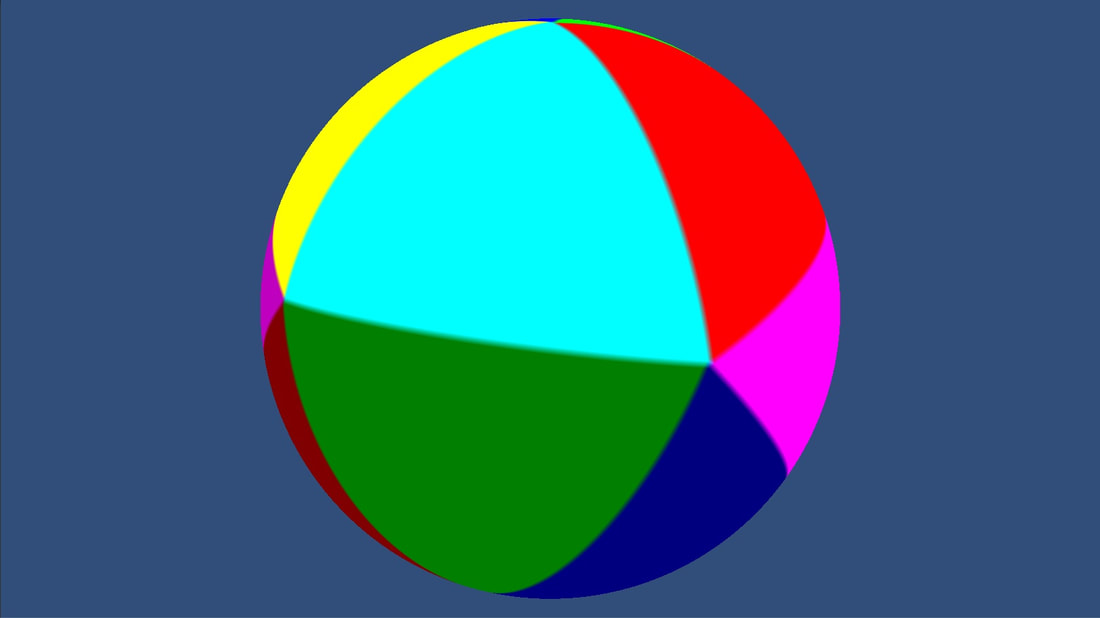
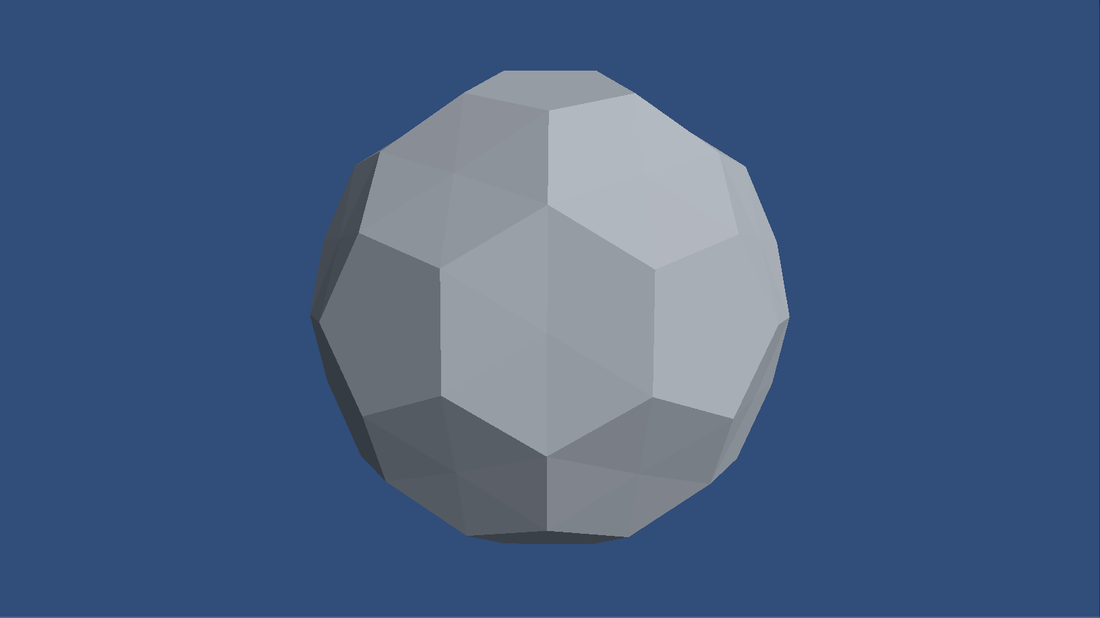
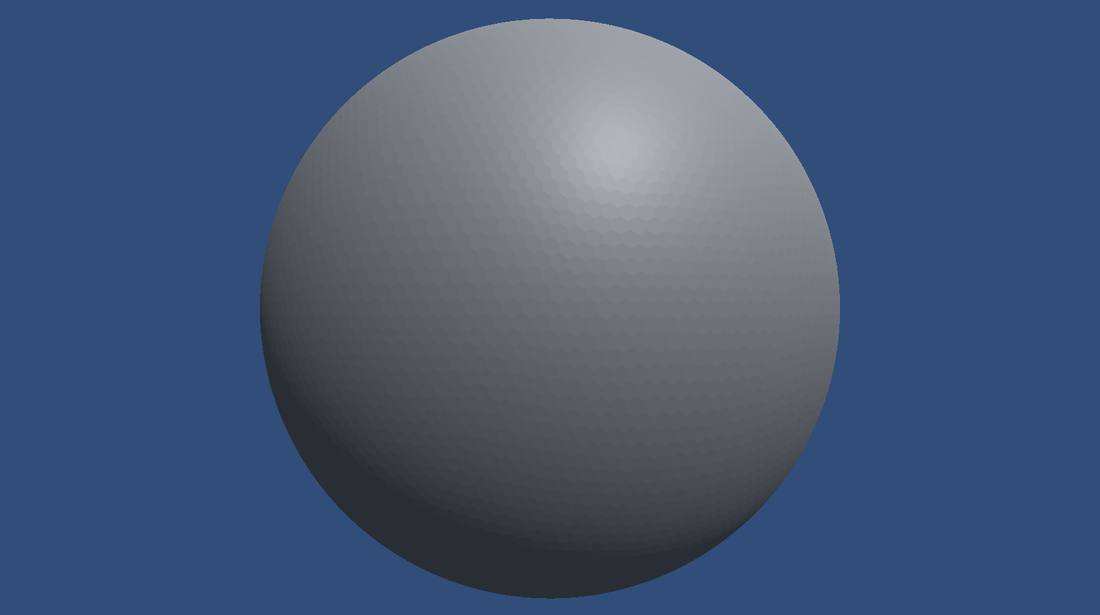
Then connect the vertices into faces. Each line defines a face using the indices of the vertices in the vertex list. If we tell Unity to draw this we get a nice icosahedron. Still needs work to become a sphere. So we subdivide each edge and make new faces: Now there are more vertices but it’s still flat. To fix this we take the new vertices and push them out a bit: That’s better, let’s subdivide it more: 6 times! So now we have a nice sphere, but as you've probably noticed there still aren't any hexagons. Well we’re not quite there yet. First we need to break down the sphere into smaller chunks. But why? Unity has a limit to the number of vertices in a mesh. We’re not hitting that yet but as we make the terrain more complicated we might. The easiest way is to use each of the original 20 faces of our icosahedron as a chunk. Giving each chunk a color gives us a nice a beach ball. Now it's finally time for hexagons. Each vertex of the sphere gets replaced by a hexagon except the 12 original vertices. Those are our pentagons. Now we finally have the basis for our map. We'll make it look more interesting next time.
Temperature, it’s a rather important measure of how hospitable a planet is for life. So, given that this is a terraforming game it’s pretty high on my list. But how to go about implementing it? Ultimately any object will have a steady temperature when the heat coming in is equal to heat going out. For most objects there’s a lot going in that statement. Thankfully (as a first approximation) planets are simple. The only way heat comes in is from the Sun. Heat only goes out by the planet’s black body radiation (also why the Sun glows). Both of these are fairly easy to calculate. So let’s do it, we know that the sun provides 1.361 kilowatts per square meter of heat to the earth. We also know that the Earth loses heat by the equation \(Q=\sigma T^4\). Solve this for temperature and there we have it. \(\sqrt[4]{\frac{Q}{\sigma}}= \sqrt[4]{\frac{1.361{kw} m^{-2}}{\sigma} \sigma}= T = 393.6 K = 248.8^oF\)
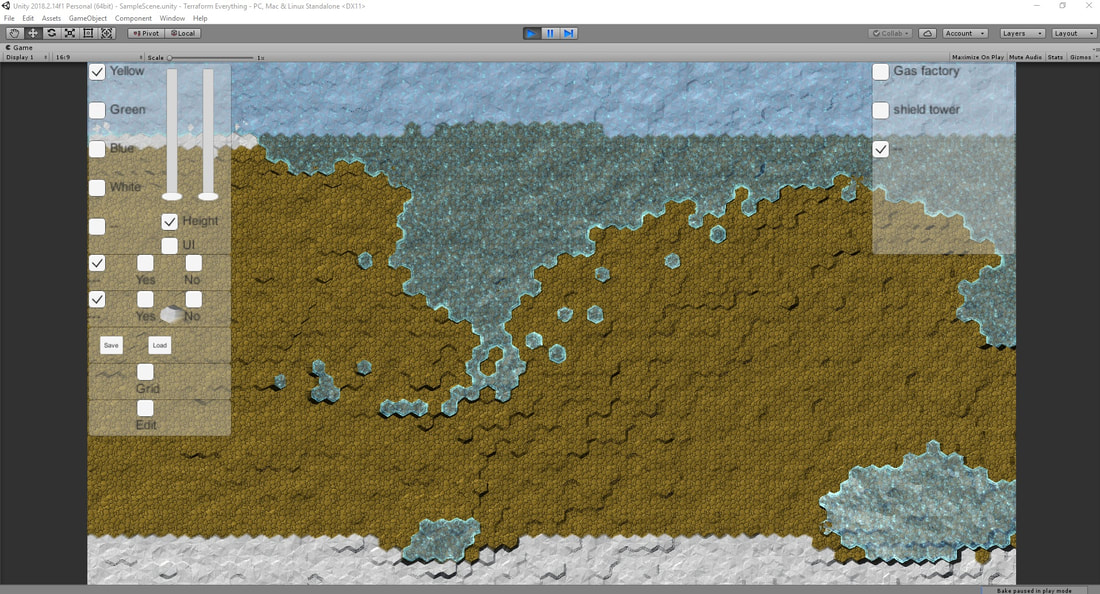
Not quite right is it. Although the Sun does provide that much heat it only provides that heat to the side of the Earth facing the Sun. Averaging over the surface of the Earth give a value of 1.361/4 = 0.340 kilowatts per square meter. Plugging this number in gives \(\sqrt[4]{\frac{0.340{kw} m^{-2}}{4 \sigma}}= T = 278.3 K = 41.2^oF\) A much more reasonable answer, although the actual number is closer to \(58.3^oF\). To get the temperature up those last 17°F we need to look at the greenhouse effect. Thankfully there’s a simple model for this, the idealized greenhouse model. Now the average temperature is given by \(T = \sqrt[4]{\frac{Q}{4 \sigma}} \sqrt[4] {\frac{1}{1-\frac{\epsilon}{2}}} \) . It turns out that \( \epsilon = 0.25\) finally gives us the right answer. Now what is \( \epsilon \) and how do we find it ? Basically, \( \epsilon \) is the factor of thermal radiation reflected by the atmosphere. Unfortunately there isn’t a nice equation, but we can cheat. We know that \( \epsilon \) is related to the amount of greenhouse gasses. We also know the temperatures and atmospheres of Earth, Venus, and Mars. Now we can construct an exponential relating \( \epsilon \) and atmospheric composition. This gives \( \epsilon = 1.92e^{-2.79{P_{GHG}}} \) where \(P_{GHG}\) is the partial pressure of greenhouse gasses in atm. Using these equations we find that to raise the Martian temperature to Earth levels the atmosphere needs to have 0.38 atm of greenhouse gasses. This is great and all but we can’t just assume that the entire planet is at the average temperature. It should be colder near the poles and warmer at the equator. To do this we can multiply the incoming flux by the cosine of latitude. Because planets are spherical the closer you get to the poles the lower the Sun is and less light hits the ground per area. At the poles the Sun is directly overhead so there is much more light per area. Now our equation looks like this: \(T = \sqrt[4]{\frac{Q Cos(\theta_{lat}) }{4 \sigma}} \sqrt[4] {\frac{1}{1-\frac{\epsilon}{2}}} \). But wait, if we just add a cosine that means the equator is only at the average temperature. So we need to stop averaging over latitude. Fortunately this is as simple as swapping out that 4 for a 3.4 (really mostly to get the equator temperature right. Game dev, not climate science!) \(T = \sqrt[4]{\frac{Q Cos(\theta_{lat}) }{3.4 \sigma}} \sqrt[4] {\frac{1}{1-\frac{\epsilon}{2}}} \). Now, for Earth, the average temperature on the equator becomes 80°F and the average temperature at the poles becomes 0 K or -459.67°F. Not quite right, this is because cosine goes to zero at the poles. In reality the poles get more light in the summer and no light in winter. A simple way to solve this is just to clamp latitude in our equation to ±66.5°. Why 66.5° ? Well the Earth’s axis is tilted at 23.5° so 90° - 23.5° = 66.5°. If we do this then the polar temperature becomes a nice -30.8°F. Now we finally have model for planetary temperature that takes solar flux, atmosphere, and latitude into account. This is clearly still very simple and doesn’t include things like altitude, weather, and oceans but it’s a good starting point. I like games, I suspect most people do in one form or another. The best games are those that just pull me in and I can’t get out of my head. Then eventually I finish and maybe I play through it again but eventually it goes away. Probably a good thing too as these games destroy any productivity my free time has… Most recently this was Subnautica but other games (in no particular order) include the Sid Meier's Civilization series (starting with IV), Factorio (also has a fantastic dev blog), Heat Signature, Endless Sky, Endless Space, RimWorld, Fallout NV, Antichamber, Crusader Kings II, Clone Drone in the Danger Zone, Kerbal Space Program, Minecraft, and many others. Recently I added my first board game to this list, Terraforming Mars. I still don’t fully understand everything about it that grabbed me but it got a lot of ideas going. They eventually started settling into something resembling a new game. Making that game (and related game thoughts) is what this blog is about. So what will this game look like? Well, your goal will be to terraform a planet (Mars, maybe Venus ? climate disaster Earth?) but to do this you need to first build a small colony importing resources. Then start up some manufacturing/mining eventually building up a small civilization worth of infrastructure to support massive terraforming machines. I’d like the gameplay to be somewhere between Civ 5 and Factorio with a planetary model similar to how SimEarth worked. This isn’t a fully fleshed out idea by any means but it’s enough to get started. I figured Unity is a good place to start, I’ve already used it for a few other things and there’s plenty of help available. Next, I decided that hex maps look better than squares. There was just the minor problem that I had no idea how to do that. Squares are nice and easy to work with, just store things in an array and everything lines up. They don’t have hexagonal arrays. Thankfully there is an absolutely wonderful tutorial series for hex maps in Unity here. After finishing those this is what I have: Noting does anything yet, but I think this is enough for now. Next we can talk about planetary temperature models!
|
ArchivesCategories |




 RSS Feed
